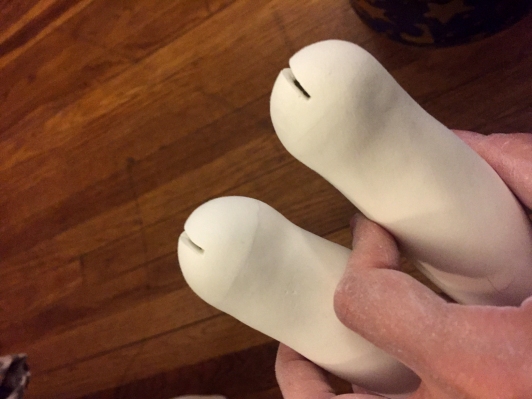
Working on the leg joints in this post. Now that I have the hollow balls I carved out the top of the the upper leg enough to sit the ball into it and then I cut a hole into the half of the ball that will sit into the leg to allow for the elastic to go through. On the top half of the ball you will cut a slit for the elastic to move along as the leg bends up and down. You secure the ball using slip and additional clay. Once it is dry you can sand it to a nice round shape.
I made a double joint for the knee to give it more mobility so it is a separate piece that fits into the upper and lower leg. For more information on the double joint go to Everyday Art by Kathy O’Connell. At the bottom is the foot which has a hook that secures to the elastic and completes the leg. Once I had all the pieces finished I strung the legs with elastic to test the joints.


