In this part I worked on hands, feet and lower torso. I sculpted some feet out of Sculpey to practice making feet but I liked the way they came out and I also liked the extra weight of the Sculpey to give the doll more stability so I decided to use them instead of making new feet from the air dry clay. With the success of the feet I figured why not use Sculpey for the hands as well since I’m more familiar with that clay and it was easier to do the fine details.


Next I joined together the halves of the upper and lower torso. I used Apoxie Sculpt to join the halves together because I wanted the bond to be strong but in the future I think I am going to just score the area (making small cut marks with an Exacto knife) and join the halve with clay. Apoxie sculpt is easy to work with but its harder to sand and carve which is something that you do a lot of.
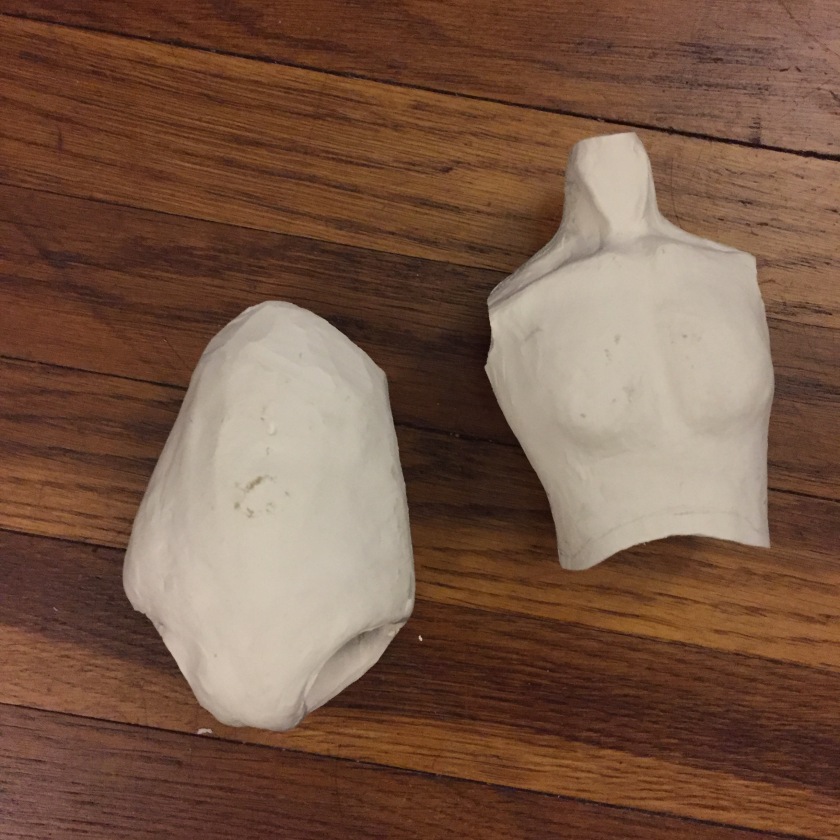
With the top half of the torso I just sanded the along the bottom to smooth it out and refine the curved shape. The bottom half of the torso takes a lot more work. The cut I made was not the neatest but it really doesn’t matter because I’m to build up the form into a oval shape that will fit into the bottom of the top half. This allows the the body to bend forward and back more naturally. I also used wooden balls to start carving out the shape for the leg sockets. Next I will be refining the torso and working on the face.


